Teeth whitening can be done in several ways—professionally or at home—but it’s important to balance effectiveness with safety, especially for enamel and gums. Here’s a clear breakdown:
1. Professional Whitening (Dentist-supervised)
- Methods: In-office bleaching (high-concentration peroxide gels, sometimes with light/laser activation).
- Pros: Fast, effective, and safe under supervision.
- Cons: More expensive; may cause temporary tooth sensitivity.
- Best for: Stubborn stains, deep discoloration.
2. At-Home Whitening (Dentist-provided kits)
- Methods: Custom trays with lower-concentration peroxide gel (10–20%).
- Pros: Safer than over-the-counter strips, more controlled results.
- Cons: Slower than in-office treatment.
- Tip: Follow the dentist’s instructions to avoid gum irritation.
3. Over-the-Counter Whitening
- Products: Strips, gels, toothpaste, or pens.
- Pros: Convenient and inexpensive.
- Cons: Results are milder; overuse can cause enamel erosion or gum irritation.
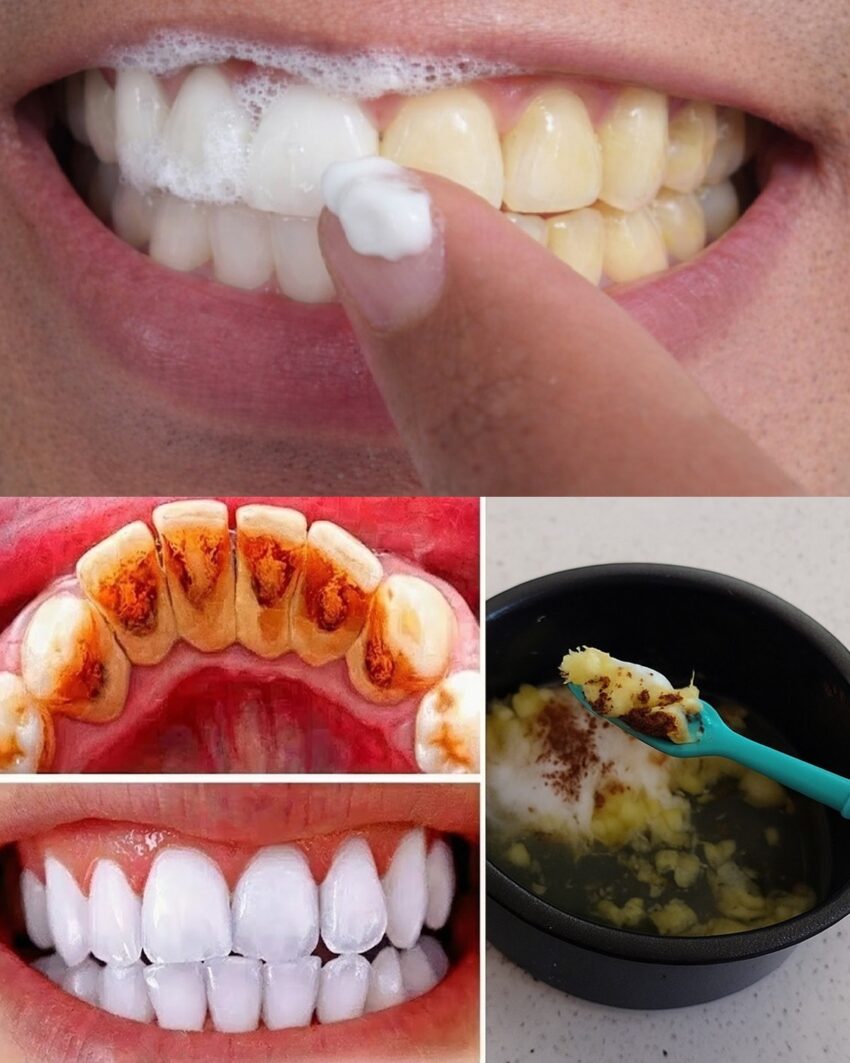
4. Natural/Home Remedies (Caution)
- Baking soda: Mild abrasive; can help remove surface stains but overuse can wear enamel.
- Hydrogen peroxide (low concentration): Sometimes used in very diluted form; avoid high concentrations.
- Activated charcoal or lemon juice: Not recommended—they can be very abrasive or acidic, causing enamel damage.
Tips for Safe Whitening
- Brush gently with a soft-bristled brush.
- Avoid acidic foods and drinks right after whitening.
- Use fluoride toothpaste to protect enamel.
- Limit whitening frequency—overdoing it can weaken teeth.
- Consult your dentist before starting any whitening, especially if you have sensitive teeth, gum disease, or restorations (crowns, veneers, fillings).
If you want, I can create a step-by-step at-home teeth whitening plan that balances speed, safety, and minimal sensitivity. It’s a lot safer than trying “DIY hacks” you see online.
Do you want me to make that plan?
