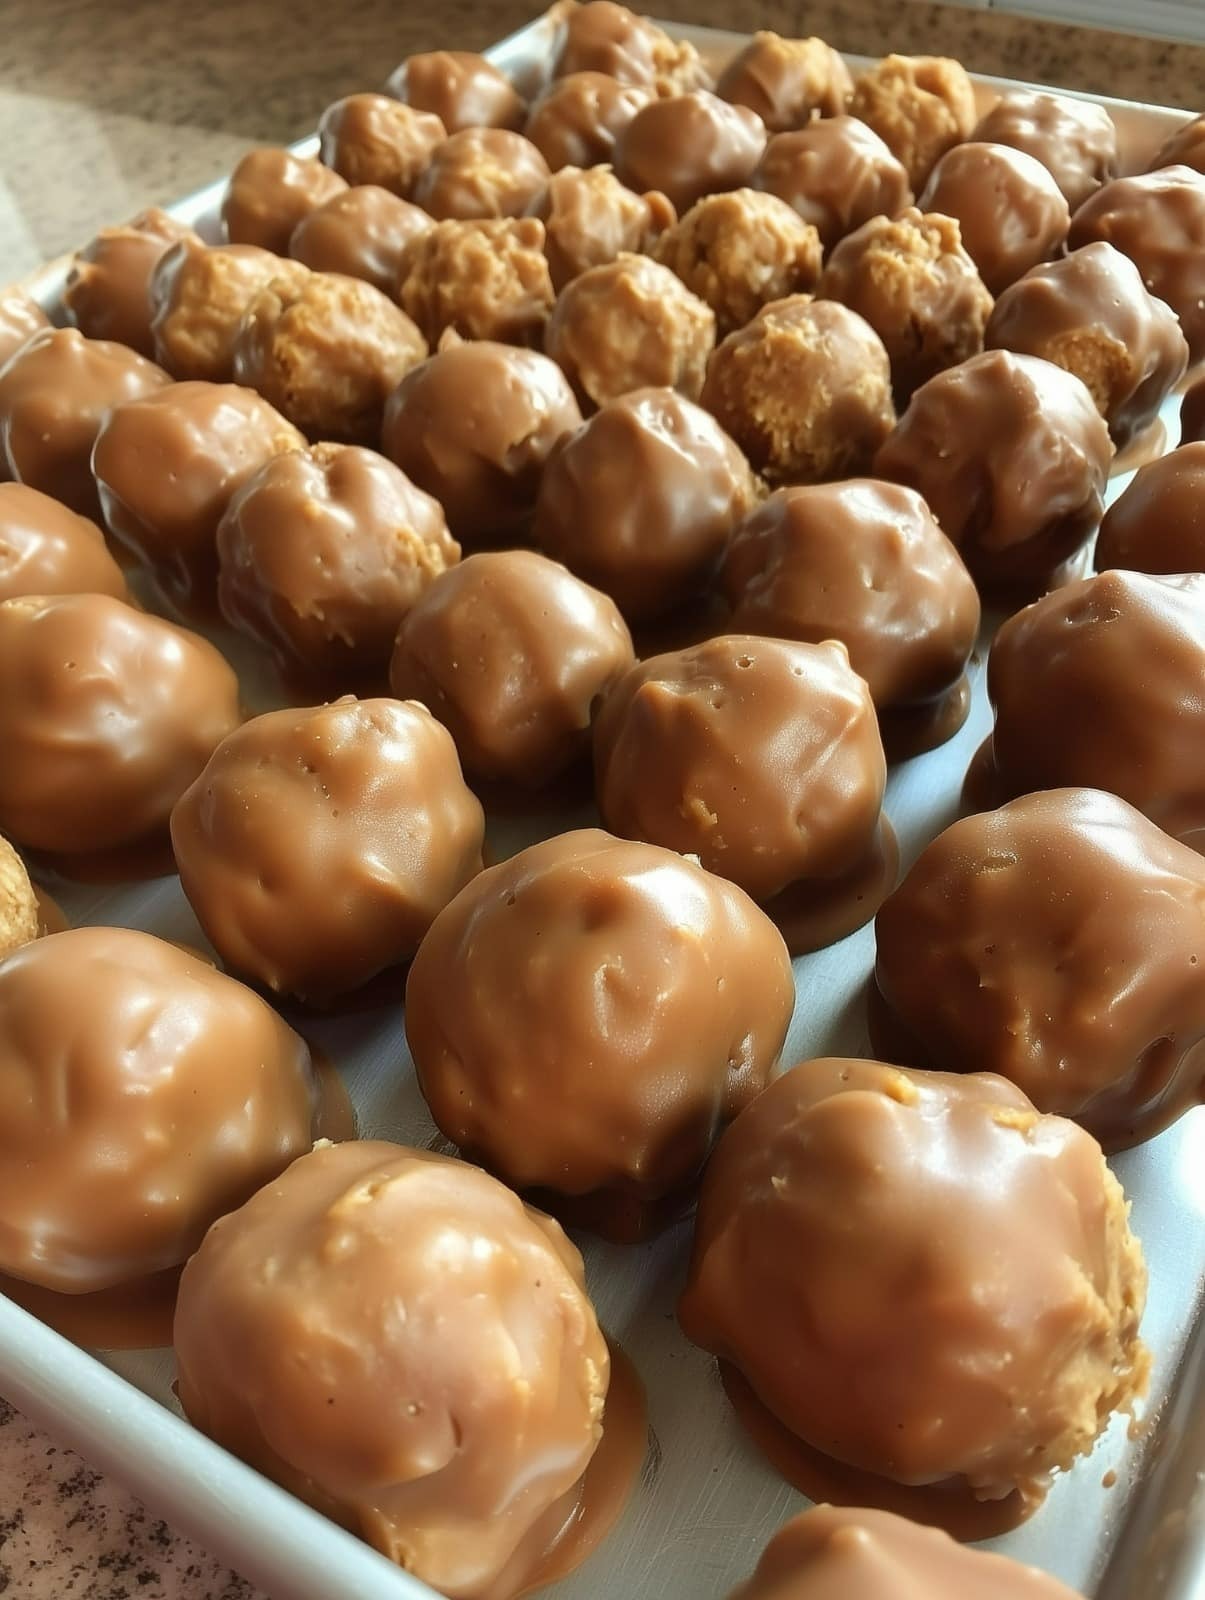
It seems like you might be asking about butterfinger balls, a popular sweet treat made with crushed Butterfinger candy bars, peanut butter, and powdered sugar, all coated in chocolate. These little no-bake truffles are quick and easy to make, and they have the perfect balance of sweet, salty, and crunchy. Here’s a simple recipe for Butterfinger Balls:
Butterfinger Balls (No-Bake Truffles)
Ingredients:
- 1 package (2.1 oz) Butterfinger candy bars, crushed (about 2-3 bars)
- 1 cup creamy peanut butter
- 2 cups powdered sugar
- 1 1/2 cups graham cracker crumbs (or about 10-12 graham crackers, crushed)
- 8 oz semi-sweet chocolate chips (for dipping or coating)
- 1 tbsp vegetable oil (optional, for thinning the chocolate coating)
Instructions:
1. Crush the Butterfinger bars:
- Unwrap the Butterfinger candy bars and place them in a plastic zip-top bag. Use a rolling pin or your hands to crush the candy into small pieces (you can leave some larger chunks for texture if you prefer).
- Alternatively, you can chop the candy bars with a knife if you’d rather not use the bag method.
2. Mix the truffle base:
- In a large mixing bowl, combine the crushed Butterfinger candy, peanut butter, powdered sugar, and graham cracker crumbs.
- Stir everything together until the mixture is well combined and sticky. The mixture should be thick and easy to form into balls. If it’s too sticky, add a little more powdered sugar or graham cracker crumbs.
3. Form the balls:
- Using your hands or a small cookie scoop, roll the mixture into 1-inch balls and place them on a baking sheet lined with parchment paper or a silicone baking mat. You should be able to make about 20-25 balls, depending on the size.
4. Chill the balls:
- Place the baking sheet with the balls in the fridge for at least 30 minutes, or until they firm up. This helps them hold their shape when dipping in chocolate.
5. Melt the chocolate:
- In a microwave-safe bowl, melt the semi-sweet chocolate chips in 30-second intervals, stirring after each interval, until smooth and fully melted.
- If you’d like a smoother coating, you can add 1 tbsp of vegetable oil to the chocolate while melting.
6. Dip the balls in chocolate:
- Once the truffle balls are chilled, use a fork to dip each one into the melted chocolate. Allow any excess chocolate to drip off, then return the coated balls to the parchment-lined baking sheet.
- If desired, you can sprinkle some extra crushed Butterfinger pieces on top of each ball for an extra crunch and decoration.
7. Chill to set:
- Place the chocolate-covered truffles back in the fridge for another 30 minutes to let the chocolate harden.
8. Serve and enjoy:
- Once the chocolate has set, your Butterfinger balls are ready to enjoy! Store them in an airtight container in the fridge for up to a week.
Tips for Perfect Butterfinger Balls:
- Chocolate Coating: If you want to use white chocolate instead of milk or semi-sweet chocolate, you can do that for a different flavor profile!
- Peanut Butter: Make sure to use creamy peanut butter for a smoother texture. Crunchy peanut butter can be used if you prefer a little extra texture in your truffles.
- Make Ahead: These truffles can be made in advance and stored in the refrigerator for several days. They also freeze well for up to 2-3 months.
These Butterfinger Balls are sweet, crunchy, and totally addictive! Perfect for parties, holiday gift-giving, or just as a fun treat to enjoy at home. Do you have a special occasion coming up that you’re planning to make these for? Let me know if you need any more tips or variations!
