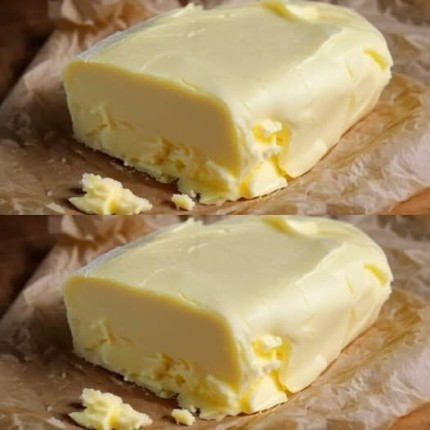
Ah, homemade butter—there’s something so satisfying about turning cream into golden, creamy butter right in your own kitchen! It’s surprisingly simple and tastes way fresher than store-bought butter. Here’s a clear guide.
How to Make Homemade Butter
Ingredients:
- 2 cups heavy cream (preferably pasteurized, not ultra-pasteurized)
- Pinch of salt (optional, for salted butter)
Instructions
1. Whip the Cream:
- Pour the cream into a stand mixer, hand mixer bowl, or a large jar (if shaking by hand).
- Whip on medium-high speed (or shake vigorously) for 5–10 minutes.
- First, the cream will turn into whipped cream—keep going past this stage.
2. Separate Butter and Buttermilk:
- After a few more minutes, the fat will clump together, and liquid (buttermilk) will separate.
- Pour off the buttermilk (you can save it for pancakes or baking—it’s delicious!).
3. Rinse and Knead the Butter:
- Place the butter in a bowl of cold water. Knead gently with a spatula or your hands to remove excess buttermilk.
- Change the water a few times until it runs clear—this helps the butter last longer.
4. Add Salt (Optional):
- Knead in a pinch of salt if you want salted butter.
5. Store:
- Store butter in an airtight container in the fridge for 1–2 weeks.
- It can also be frozen for longer storage.
Tips for Perfect Butter
- Use cold cream for faster separation.
- Ultra-pasteurized cream may take longer or fail to separate; fresh or pasteurized cream works best.
- You can flavor your butter with herbs, garlic, or honey for special spreads.
- The leftover buttermilk is slightly tangy and perfect for biscuits, pancakes, or salad dressings.
If you want, I can also give a fun shortcut for making butter by shaking cream in a jar—it’s a great little kitchen experiment, especially for kids or when you don’t have a mixer.
Do you want me to show that method too?
